Número de parte del fabricante SC1231
RASPBERRY PI 500 US - UNIT ONLY
Raspberry Pi
License: General Public License Software Raspberry Pi SBC
This project demonstrates how to install Windows 11 (ARM64) on Raspberry Pi single-board computers (specifically Pi 4, Pi 5, and Pi 3) using the Windows on Raspberry (WoR) toolset. The goal is to turn a Raspberry Pi into a compact Windows PC — a proof-of-concept that is highly educational and technically challenging, though not as performant as using Pi OS.
Familiar Interface: Many users are more comfortable with Windows UI (Start Menu, File Explorer, etc.), so this lets them run a “mini Windows PC” using Pi hardware.
Access to ARM-native Windows Software: Some Windows applications (Office, Edge, lightweight dev tools) run on ARM64, enabling productivity on a low-cost board.
Learning Experience: The project deep-dives into ARM architecture, UEFI firmware, and OS-boot mechanisms — great for students and makers who want to understand how operating systems work at a lower level.
Budget Testing Platform: Raspberry Pi is much cheaper than ARM-based laptops, making it a practical testbed for ARM Windows applications.
Showpiece / Demo: Running Windows 11 on a Pi makes for a compelling tech demonstration — good for makers, hobbyists, and educational showcases.
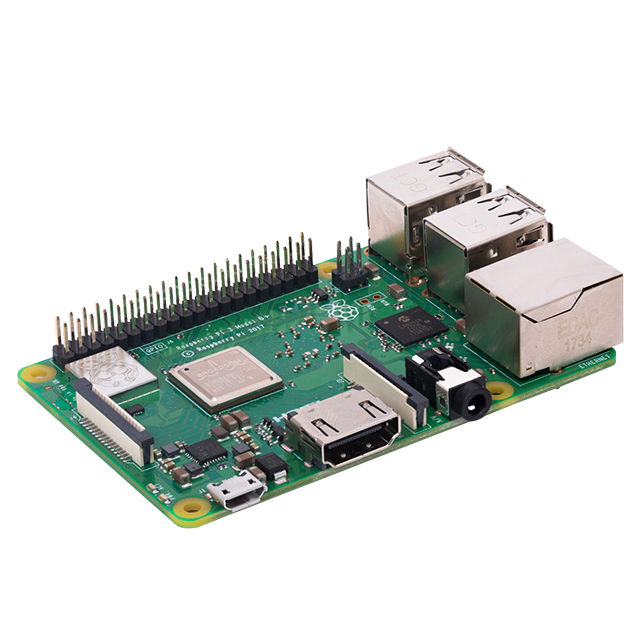
Hardware
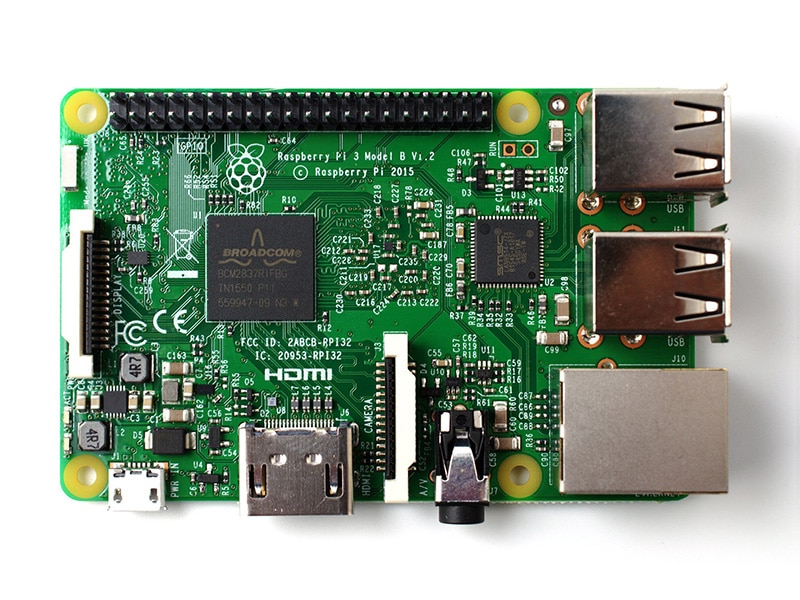
Raspberry Pi (recommended: Pi 4 with 4–8 GB RAM; Pi 5 with 4–8 GB RAM)
Storage:
For Pi 4 / Pi 3: microSD card (32 GB or more) For Pi 5: two storage devices — a small microSD card (~1 GB) for UEFI firmware + an external USB SSD (64 GB+) to run Windows smoothly.
Peripherals: Keyboard, mouse, HDMI display
Network: Since onboard Wi-Fi may lack Windows ARM drivers, a USB-Ethernet adapter or phone tethering is recommended.
A Windows PC: to prepare (download, flash) the Windows image
Software
WoR Imager (Windows on Raspberry) — to flash Windows 11 ARM to Pi’s storage.
Windows 11 (ARM64) image — obtained via WoR’s ESD Image Downloader.
For Pi 5: UEFI firmware for Raspberry Pi 5 (from GitHub) to enable booting.
Here’s a high-level breakdown of the installation process:
Download Windows 11 ARM64 Image
Use the WoR ESD Image Downloader. Choose ARM64 architecture, pick a Windows edition (Home or Pro), and a language.
Download the ESD file.
Prepare the Storage with WoR Imager
Run the WoR Imager tool with administrator privileges.
Select your storage device (microSD or SSD).
Choose your Raspberry Pi model in WoR: for Pi 4, select “Pi 4 / 400”; for Pi 5, choose “Pi 2/3” in the tool (this avoids boot errors).
Point WoR Imager to the ESD file, select the Windows edition, and click “Install.” WoR will partition the device, set up UEFI, and flash Windows.
The flashing process takes ~15–45 minutes, depending on storage speed.
(For Pi 5) Configure UEFI Firmware
Download UEFI firmware for Pi 5 from its official GitHub.
Format a spare microSD card as FAT32 and copy the UEFI firmware files onto it.
Insert this microSD into Pi 5 along with the SSD (where Windows is installed). On boot, the UEFI firmware will initialize and pass control to Windows.
Important: The microSD card with UEFI must remain inserted for Pi 5 to boot Windows.
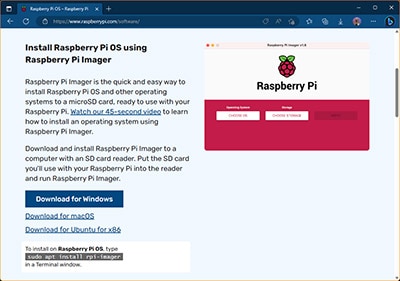
Update Pi Bootloader (Optional but Recommended for Pi 4 / 3)
On your Windows PC, use the Raspberry Pi Imager tool → choose Misc utility images → Bootloader.
Select boot mode: either SD card or USB (if you’re using SSD).
Write and flash the bootloader to a microSD card.
Boot your Pi with this card to update its bootloader firmware, which makes future boots more stable.
Boot into Windows 11 on Raspberry Pi
Insert the prepared storage (for Pi 4/3: just the microSD or SSD; for Pi 5: both UEFI microSD + Windows SSD).
Power on, and you should see the WoR splash / UEFI → Windows installer.
Go through region / keyboard setup. To bypass the network requirement to create a local account, press Shift + F10 → in the Command Prompt, type OOBE\BYPASSNRO → Enter.
Complete the Windows setup (privacy settings, account, etc.).
After reboot, you should reach Windows 11 desktop on Raspberry Pi.
While this project is very cool, it comes with several trade-offs:
Performance constraints: Windows 11 on Pi is not as responsive as on a regular PC. Heavier apps may lag or crash.
Networking: Onboard Wi-Fi often doesn’t work because of missing Windows ARM drivers — USB-Ethernet adapters or tethering are needed.
Hardware access restrictions: GPIO pins (used for electronics projects) aren’t accessible via Windows as they are in Linux.
Audio limitations: HDMI audio may not work; a 3.5 mm jack workaround might be needed.
Pi 5-specific issues: Requires UEFI workaround; the microSD used for UEFI cannot be removed.
Boot time: On Pi 4, first boot could take several minutes; Pi 5 is faster, but still slower than a typical PC.
Raspberry Pi 4 (2 GB): Workable for light tasks but very limited; the author does not recommend it for daily use.
Raspberry Pi 4 (4 GB or 8 GB): Much better– more stable, usable for light browsing or Office apps.
Raspberry Pi 5 (8 GB): The best performance observed — faster boot, smoother multitasking, more usable for real tasks
By completing this project, participants will:
Learn how to use the WoR toolchain to flash Windows ARM images onto non-standard hardware.
Understand UEFI firmware and how it helps boot Windows on devices not originally supported.
Gain insights into ARM architecture, bootloaders, and how Windows handles ARM-based hardware.
Experience the trade-offs between performance, compatibility, and convenience on single-board computers.
Be able to showcase a working Windows 11 PC built from a Raspberry Pi, which is impressive for demonstrations or teaching.
This windows 11 on raspberry pi is not primarily about building a “useful product,” but about exploration, learning, and experimentation. Installing Windows 11 on Raspberry Pi turns a tiny board into a fully GUI-based Windows machine — which is both technically challenging and fun. It’s ideal for developers, students, and hobbyists who want to understand OS internals, test ARM software, or build a unique demo system.